Zerobyte on Coolify
I’ve been going on about Coolify because I’ve enjoyed tinkering with it, and after the initial learning curve I’ve expanded the types of projects I can comfortably self-host.
Coolify has built-in backup mechanisms for databases, but I’m on my own for filesystem backups.
“The whole point is ephemeral containers Matt, so if you need to back up files you’re doing something wrong,” you say.
You’re mostly right and you could’ve been more gentle, but hear me out.
Most modern web apps can use cloud storage like Amazon S3 for user-uploaded files, and I often take advantage of that. I do, however, still want to back up local files stored by the main Coolify instance—environment variables, SSH keys, etc. And I do have more than one app running that stores user-uploaded files locally. It could happen to you someday, too.
“Okay fine,” I imagine you saying hesitantly.
Years ago, I wrote shell scripts to manage remote backups using restic. I wanted a pinch of abstraction to set up, run, and mount backups without having to dig through my notes on infrequently-used commands. restic was ideal because it could efficiently make incremental, encrypted backups and store them inexpensively on Backblaze B2. It worked nicely and the setup was easy to recreate in a few minutes on a fresh Laravel Forge server.
I moved from Forge to Ploi and now to Coolify, where it’s easier to spin up Duplicati from Coolify’s service list. I’d set up a Duplicati instance for each server I had local files to back up, mount those host directories into its container, and put it on a schedule backing them up remotely. I’d check occasionally to make sure things were working, because I have made mistakes and learned from some of them.
This was all working fine and I had no reason to change anything.
Then I noticed something called Zerobyte in Ethan Sholly’s post so I had to try it. Sure things are fine over here, but oooooh what about that thing over there?
It didn’t take long to get an instance of Zerobyte running and mount a host directory into it for backing up.
Here’s what my Docker Compose file looks like for the main Coolify VPS:
services:
  zerobyte:
    image: 'ghcr.io/nicotsx/zerobyte:v0.18'
    restart: unless-stopped
    cap_add:
      - SYS_ADMIN
    devices:
      - '/dev/fuse:/dev/fuse'
    environment:
      - TZ=America/Los_Angeles
    volumes:
      - '/etc/localtime:/etc/localtime:ro'
      - 'zerobyte_data:/var/lib/zerobyte'
      - '/data/coolify:/coolify'
    ports:
      - '4096:4096'
volumes:
  zerobyte_data: null
Everything there is stock, and it’s the /data/coolify:/coolify line that mounts the host machine’s /data/coolify directory as /coolify inside the Zerobyte container.
For each server that runs a Zerobyte instance[1], the process is the same:
- Spin up Zerobyte with host directories mounted into it.
- Create a user account and store the downloaded restic key in 1Password.
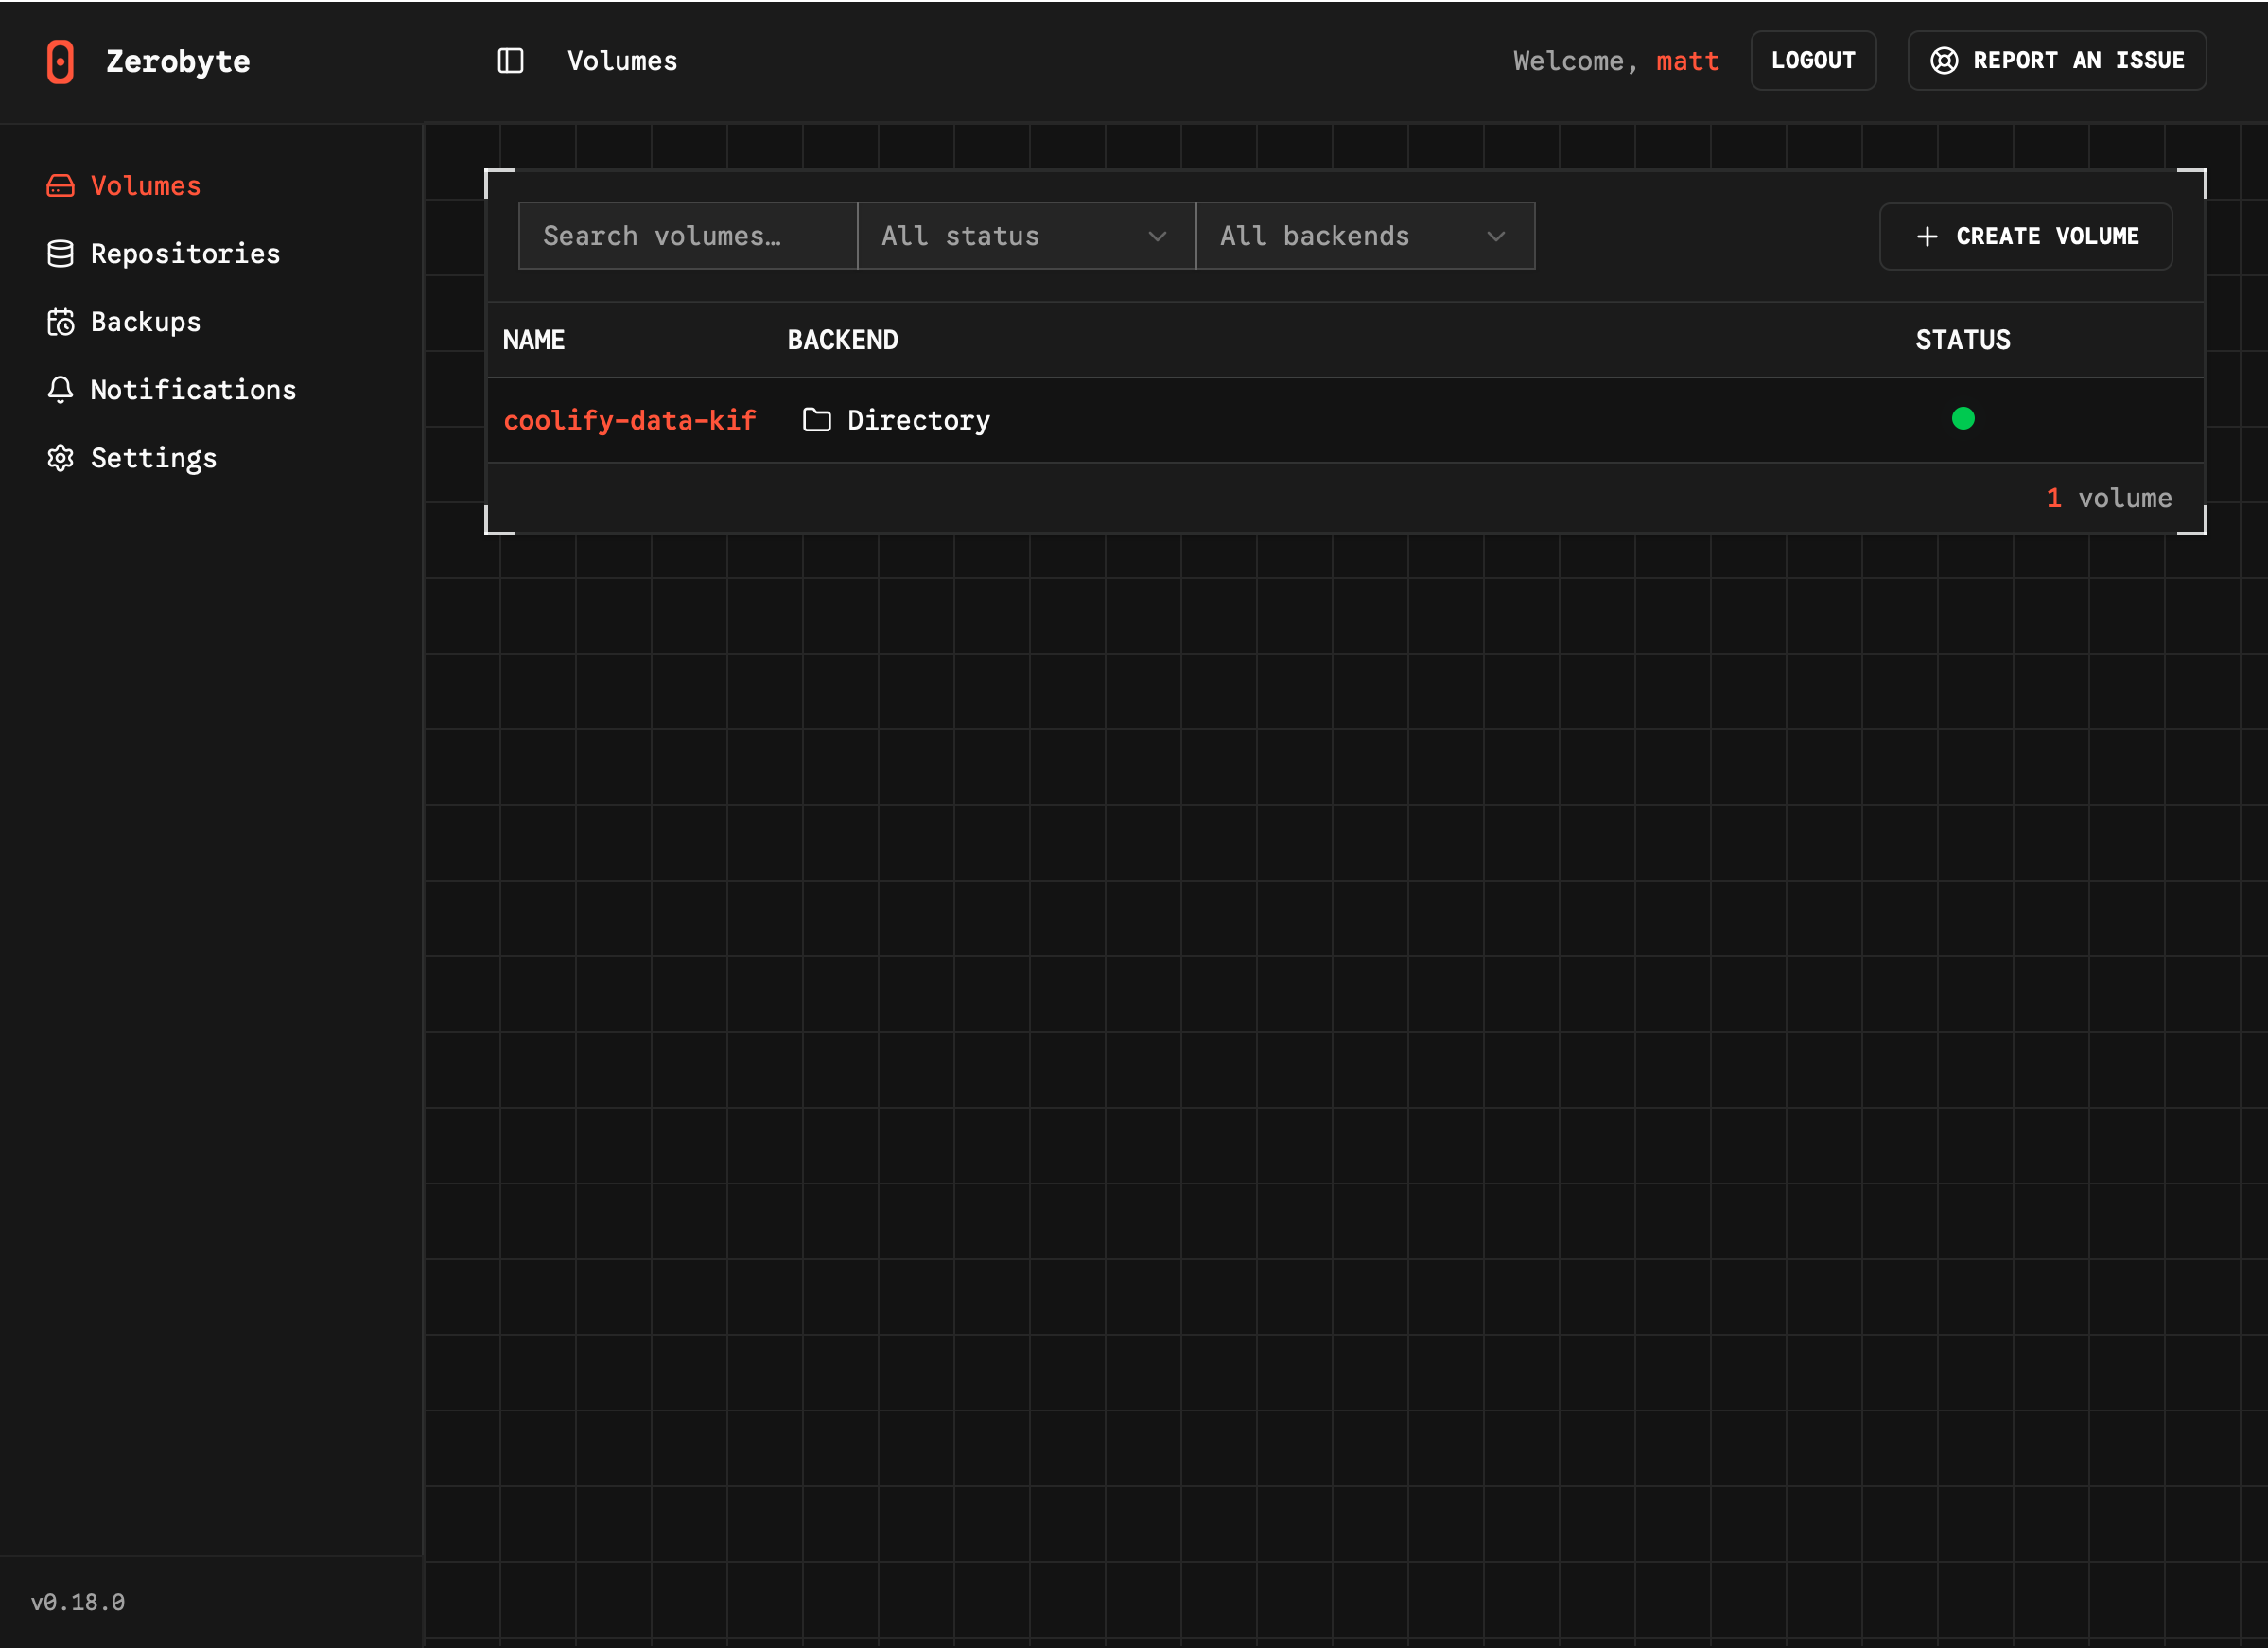
- Establish those mounted directories as Volumes to be backed up.
- Set up a remote, S3-compatible Repository where backups can be stored.
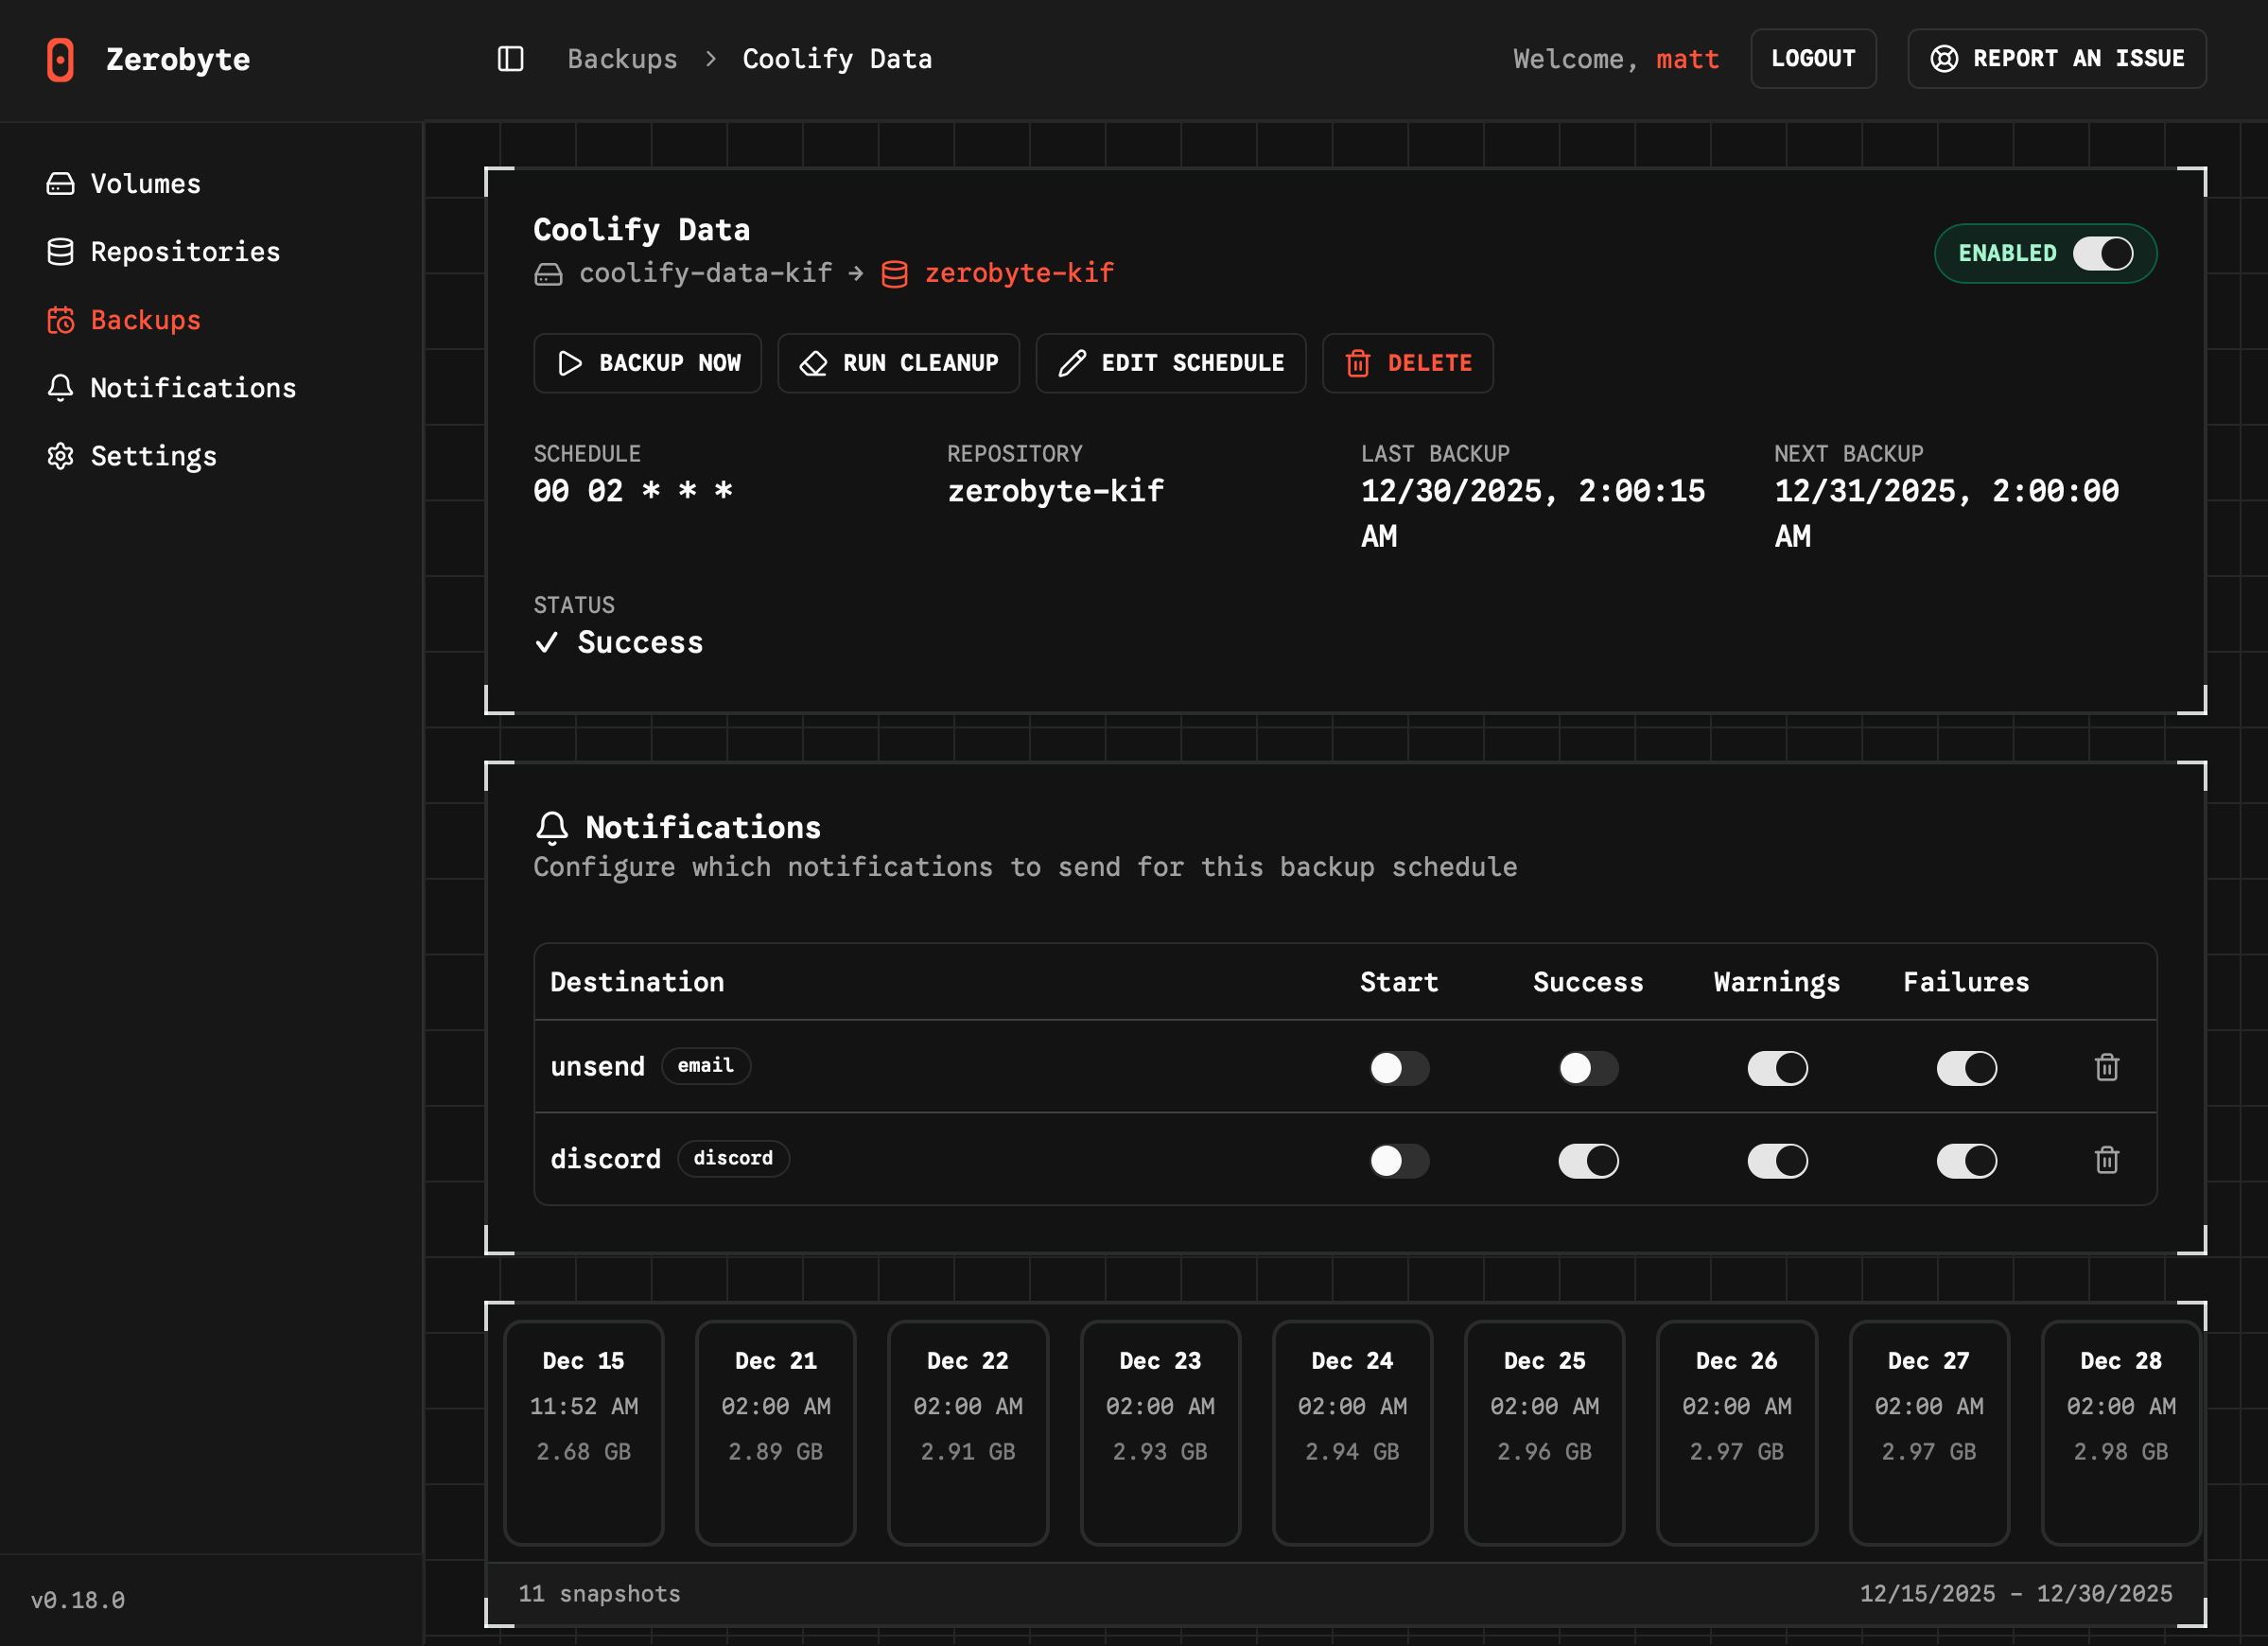
- Create a Backup so that each Volume is backed up to a Repository.
- Optionally set up Notifications (I use email and Discord) and use them to keep an eye on each Backup routine.
I bolded the labels you’ll see in Zerobyte’s UI. Those are the vital pieces.
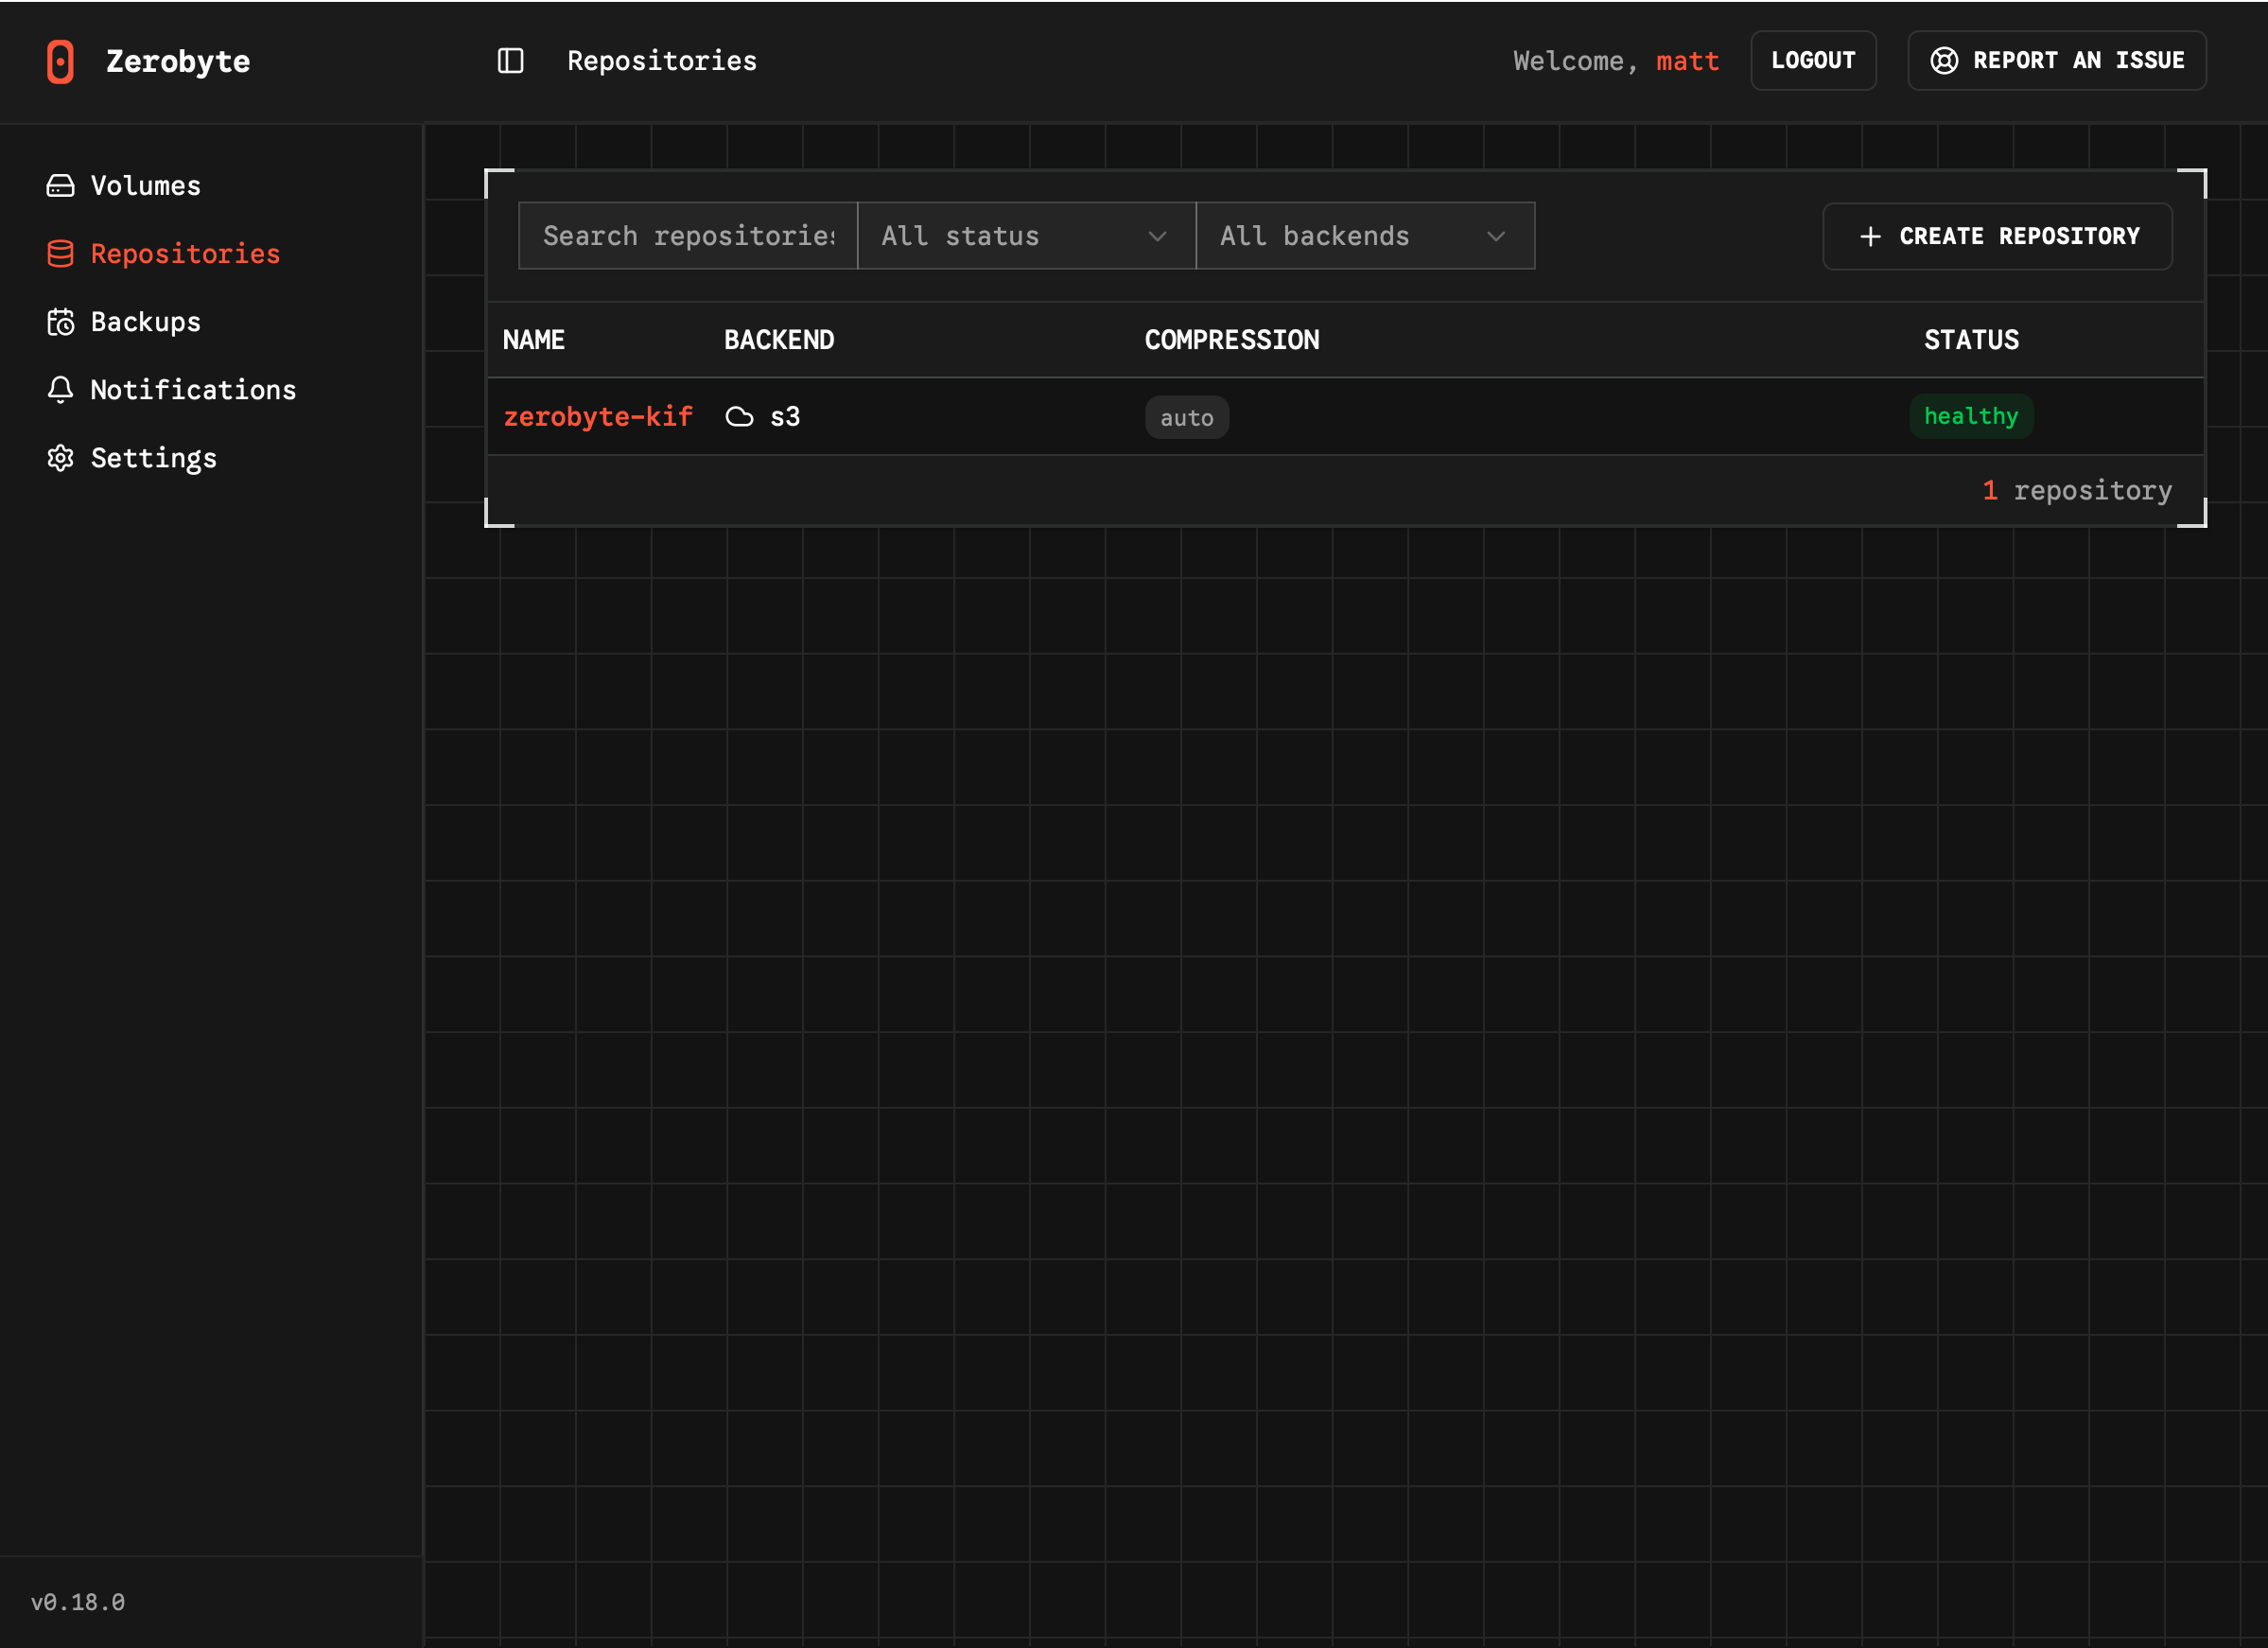
The files stored in S3 are all encrypted, so you can’t see their contents or even their names.
I originally set up DNS entries for each Zerobyte instance before I realized I could skip them and access directly via Tailscale with a URL like http://tailscale-machine-name:4096. I’ll only ever access the web UI via a device on my tailnet, so there’s no need to have a public subdomain.
The UI is more straightfoward than Duplicati’s and downright gorgeous, and so far my backups and notifications have been working flawlessly. Despite the project’s current v0.18.0 release, I’ve already appreciated nice touches like the realtime backup display and the ability to test each notification which is naturally useful setting it up.
The only drawback I’ve found so far is that a Volume can’t be set up in a subdirectory. Previously I had Duplicati instances share an S3 bucket by having each one limit itself to a subfolder. Now I just establish a bucket for each Zerobyte instance, which isn’t a big deal.
I’m not even taking advantage of remote mounts or rclone, and I’ll probably improve this setup at some point. So far, however, Zerobyte has been really pleasant to work with!
I should probably run one Zerobyte instance and mount other server directories for backup, to get rid of redundant setup and improve backup visibility and monitoring. ↩︎